Layer Adjustments
Every layer carries a set of live filters. They are non-destructive, so you can dial them back or switch them off at any point without losing a brush stroke.
Opening the adjustments
Tap the sliders button on a layer row. The panel that opens applies to that layer only.
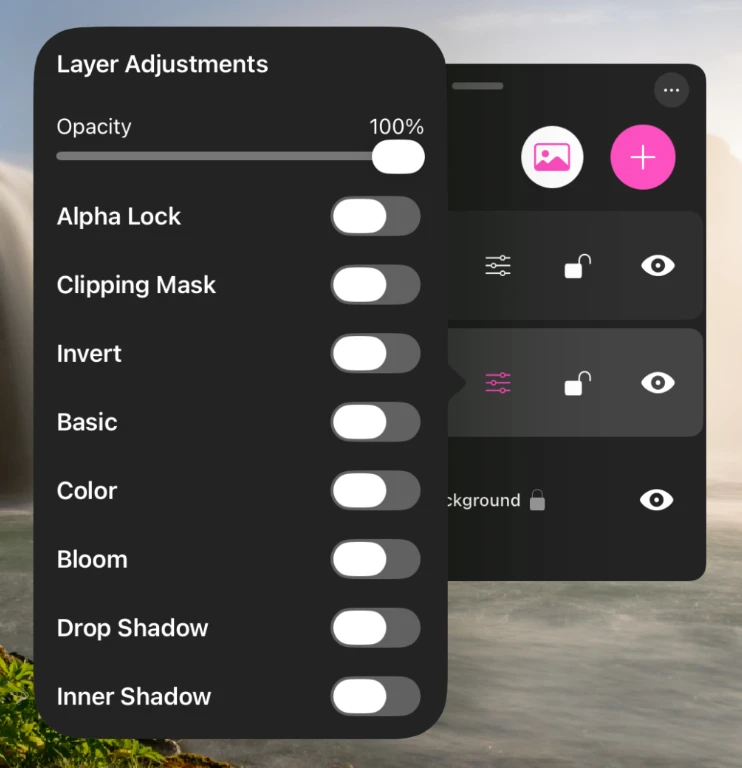
Opacity, lock, mask and invert
| Control | What it does |
|---|---|
| Opacity | Fades the whole layer from 0% to 100% |
| Alpha Lock | Restricts painting and erasing to pixels that already have paint |
| Clipping Mask | Confines the layer to the shape of the layer below it |
| Invert | Inverts the layer's colors |
Alpha Lock is the one to learn first. Turn it on and you can recolor, shade or texture a shape freely without ever going outside its edges.
Clipping Mask does the same job across two layers: put shading on its own layer, clip it to the artwork below, and it only shows where that artwork exists. You keep the shading separate and editable.
Basic
Brightness and Contrast. Switch the section on to reveal them, and reset the pair with the section's reset control.
Color
| Slider | What it does |
|---|---|
| Hue | Rotates every color around the wheel |
| Saturation | Strengthens or drains the color |
| Vibrance | Lifts muted colors while leaving saturated ones alone |
| Temperature | Warms toward orange or cools toward blue |
| Tint | Shifts toward green or magenta |
Bloom
A glow that spreads out of the bright parts of the layer. Set the amount, the blur radius, and the glow's color. Good for light sources, neon, embers and anything meant to look self-lit.
Drop shadow and inner shadow
Both take a color, an angle, a blur and a distance. A drop shadow falls outside the layer's shapes and lifts them off the background. An inner shadow falls inside them and makes them read as cut out or recessed.
Adjustments are stored with the layer and travel with the project file, so they are still live the next time you open it.